You can create groups in the admin account to share surveys, themes, tickets, etc to the users in that particular group. Manage your groups and create groups from an admin account. You can create various groups for various purposes. These groups can be used to assign tickets.
The advantage of having a group is that it allows you to assign multiple people to a particular task at once without having to manually select people. For example, the team which handles a particular kind of tickets can be assigned under a group and the group can directly be assigned to handle the tickets every time it is generated.
Explore the features available while you manage your groups.
Creating New Group
You can create a new group by following these instructions:
1. Go to the Groups page under the Admin section
.png")
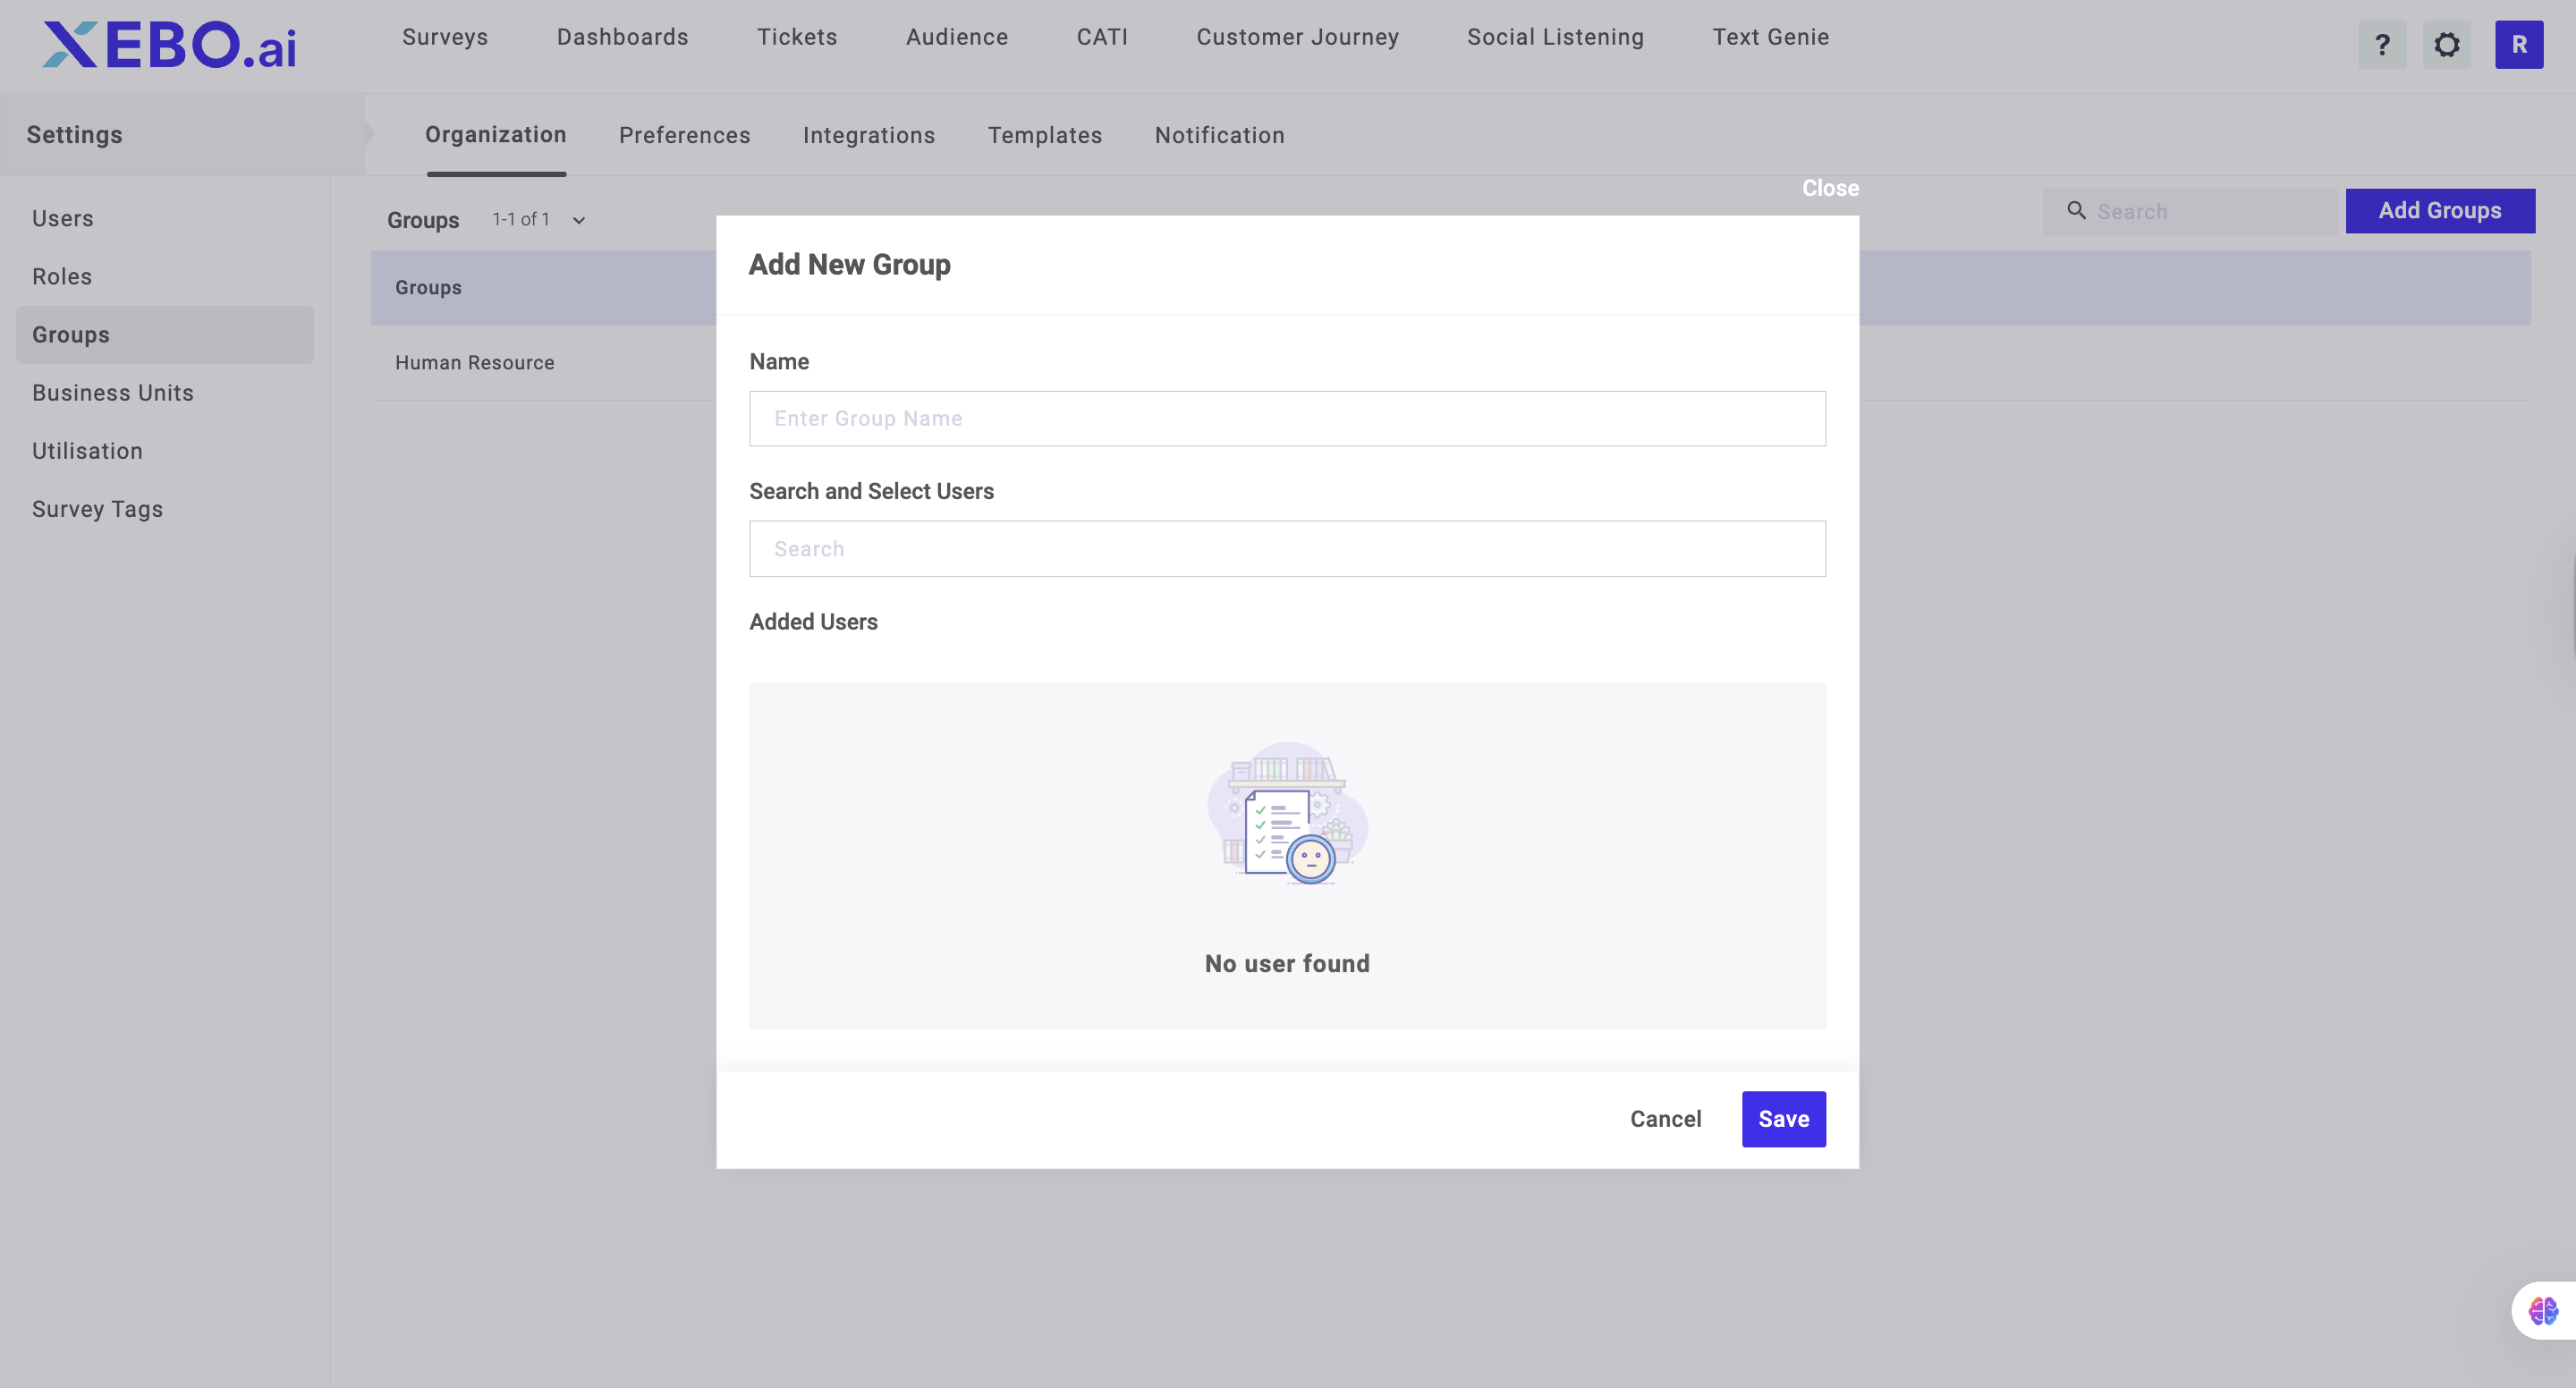
2. Click on +Add Group
3. Enter the name of the group and click Save
Adding Members To Group
Once you have created a group, you can add more users to the group by manually adding them. The process for adding members to the group are as follows:
1. Go to the Groups page under the Admin section
2. Click on the edit option and under the select and search unit search for a user you want to add
3. Select the users from the popup window.
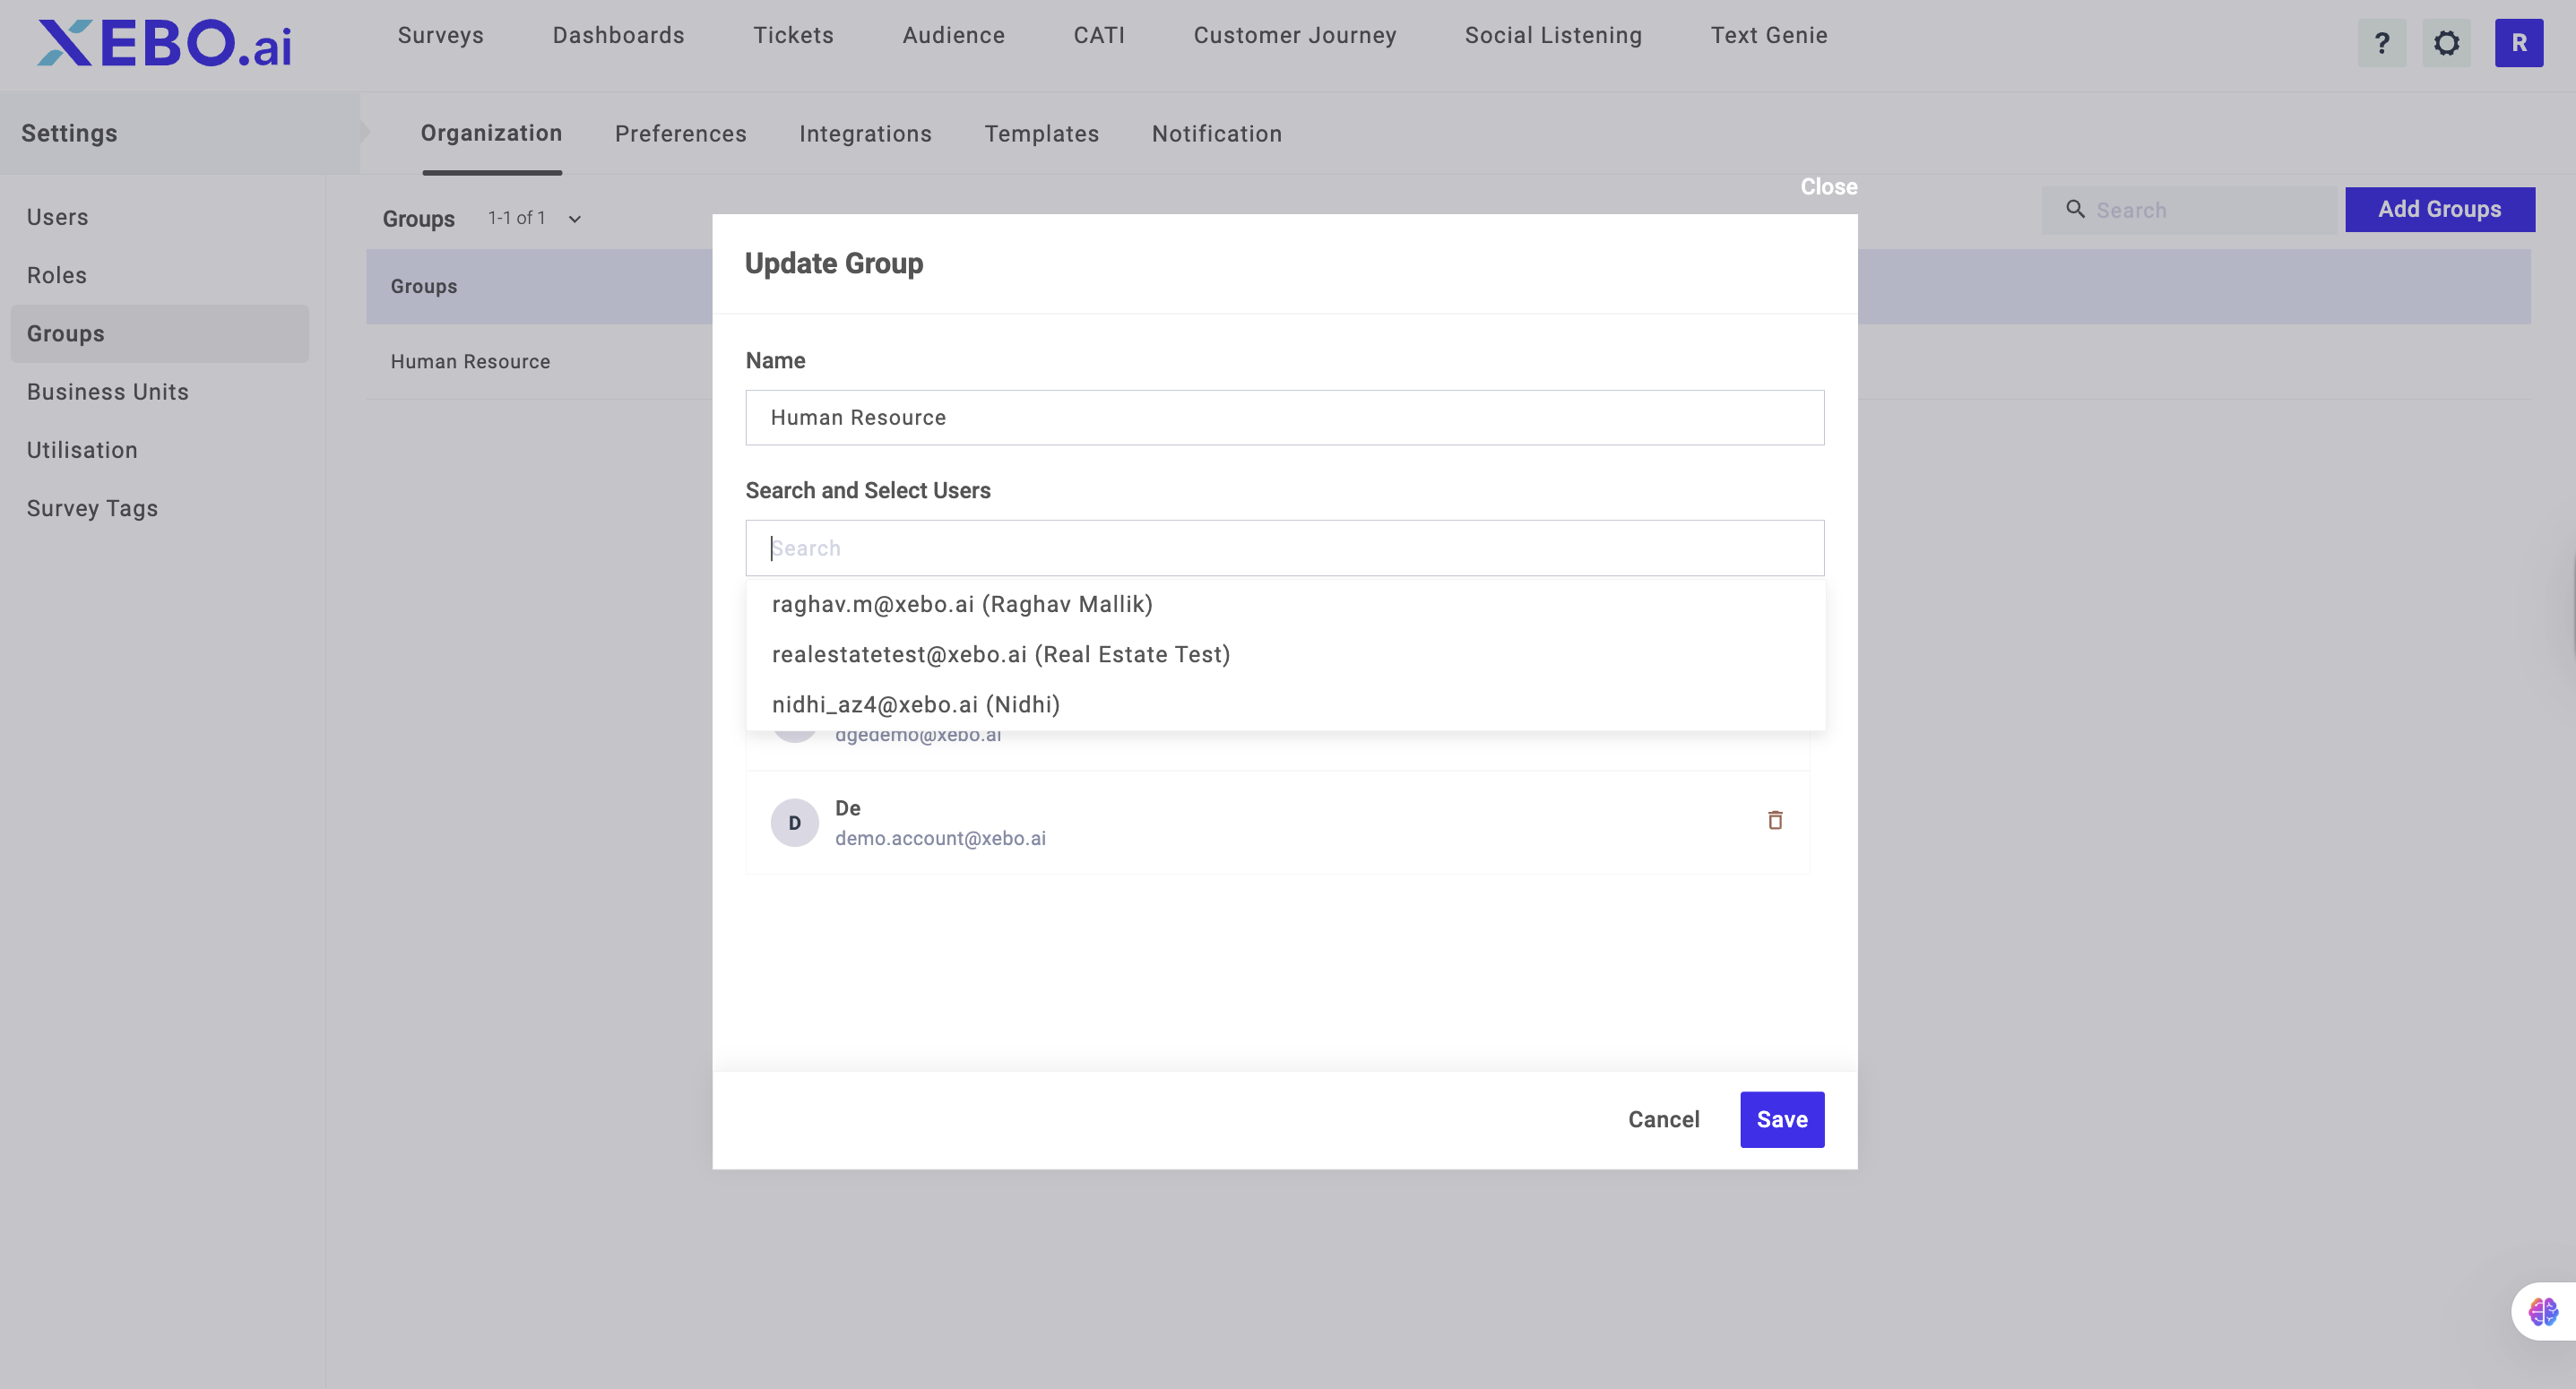
4. Click on Add after you have selected the users
Deleting Group
You can delete groups you have created from the Groups page. The steps to deleting a group are as follows:
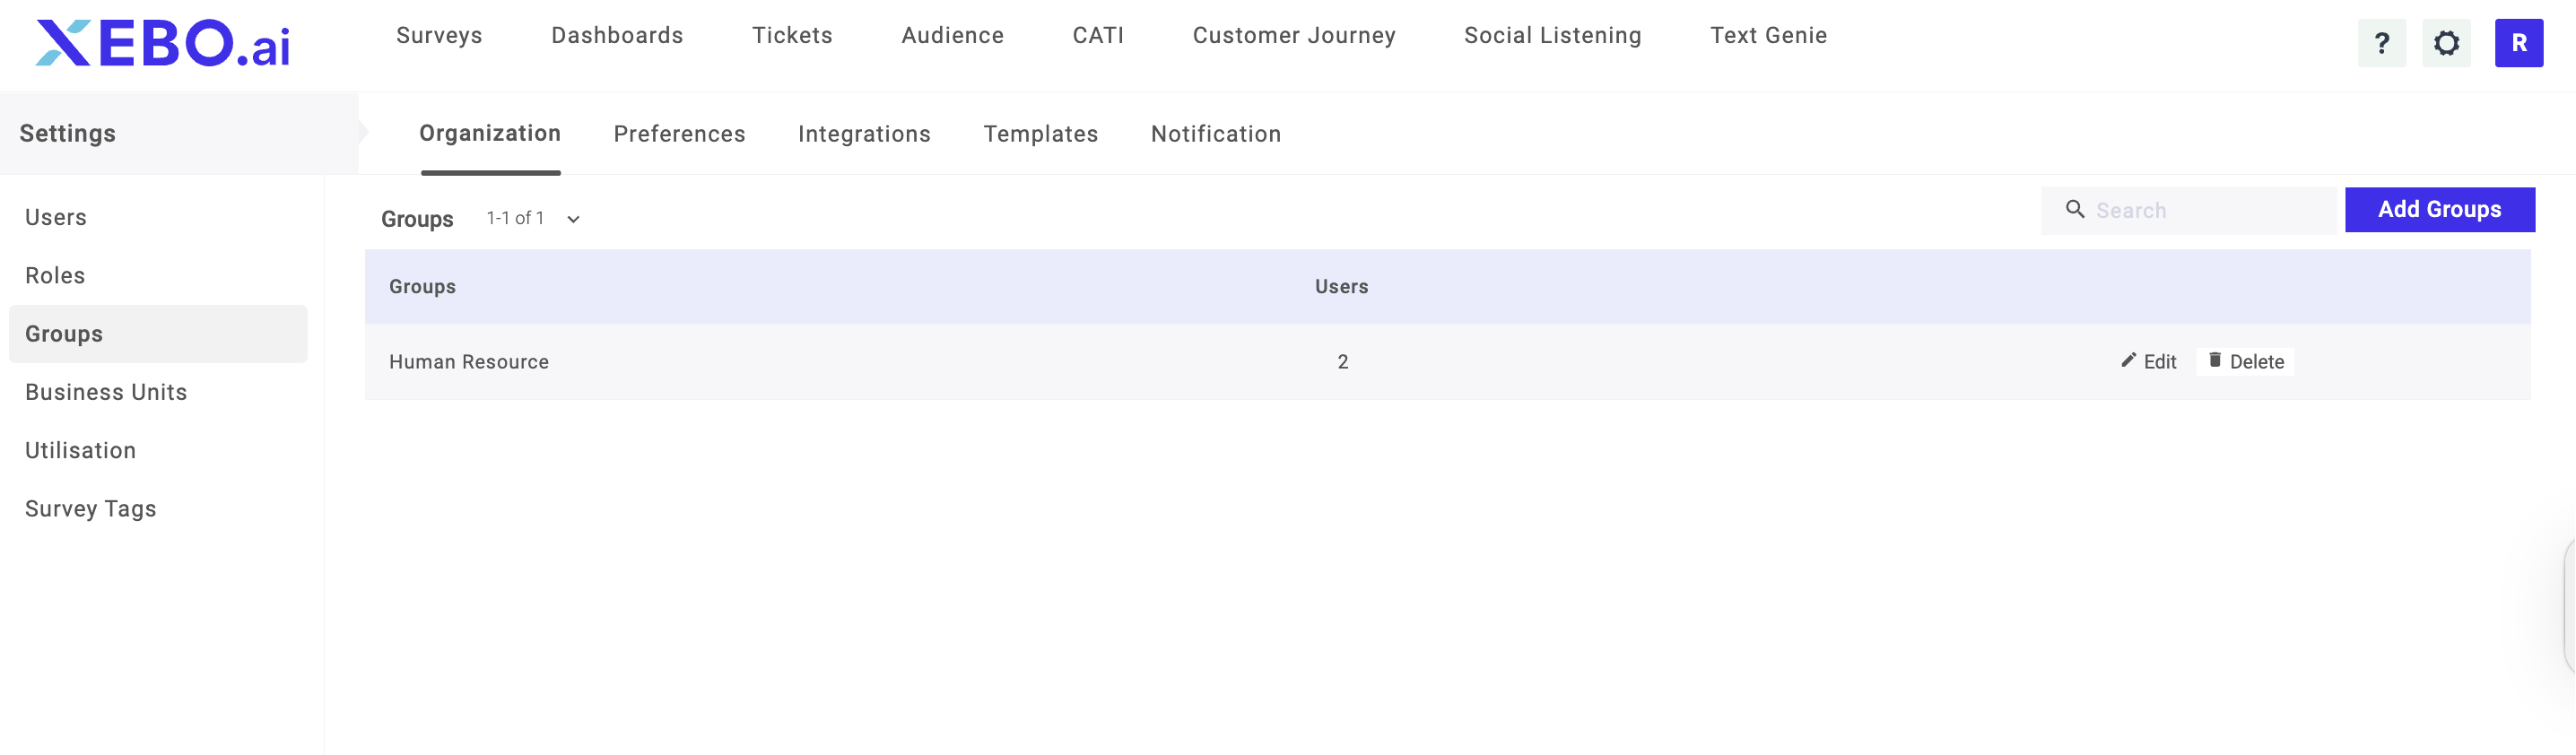
1. Go to the Groups page under the Admin section
2. Under the Action tab, click on the Delete button
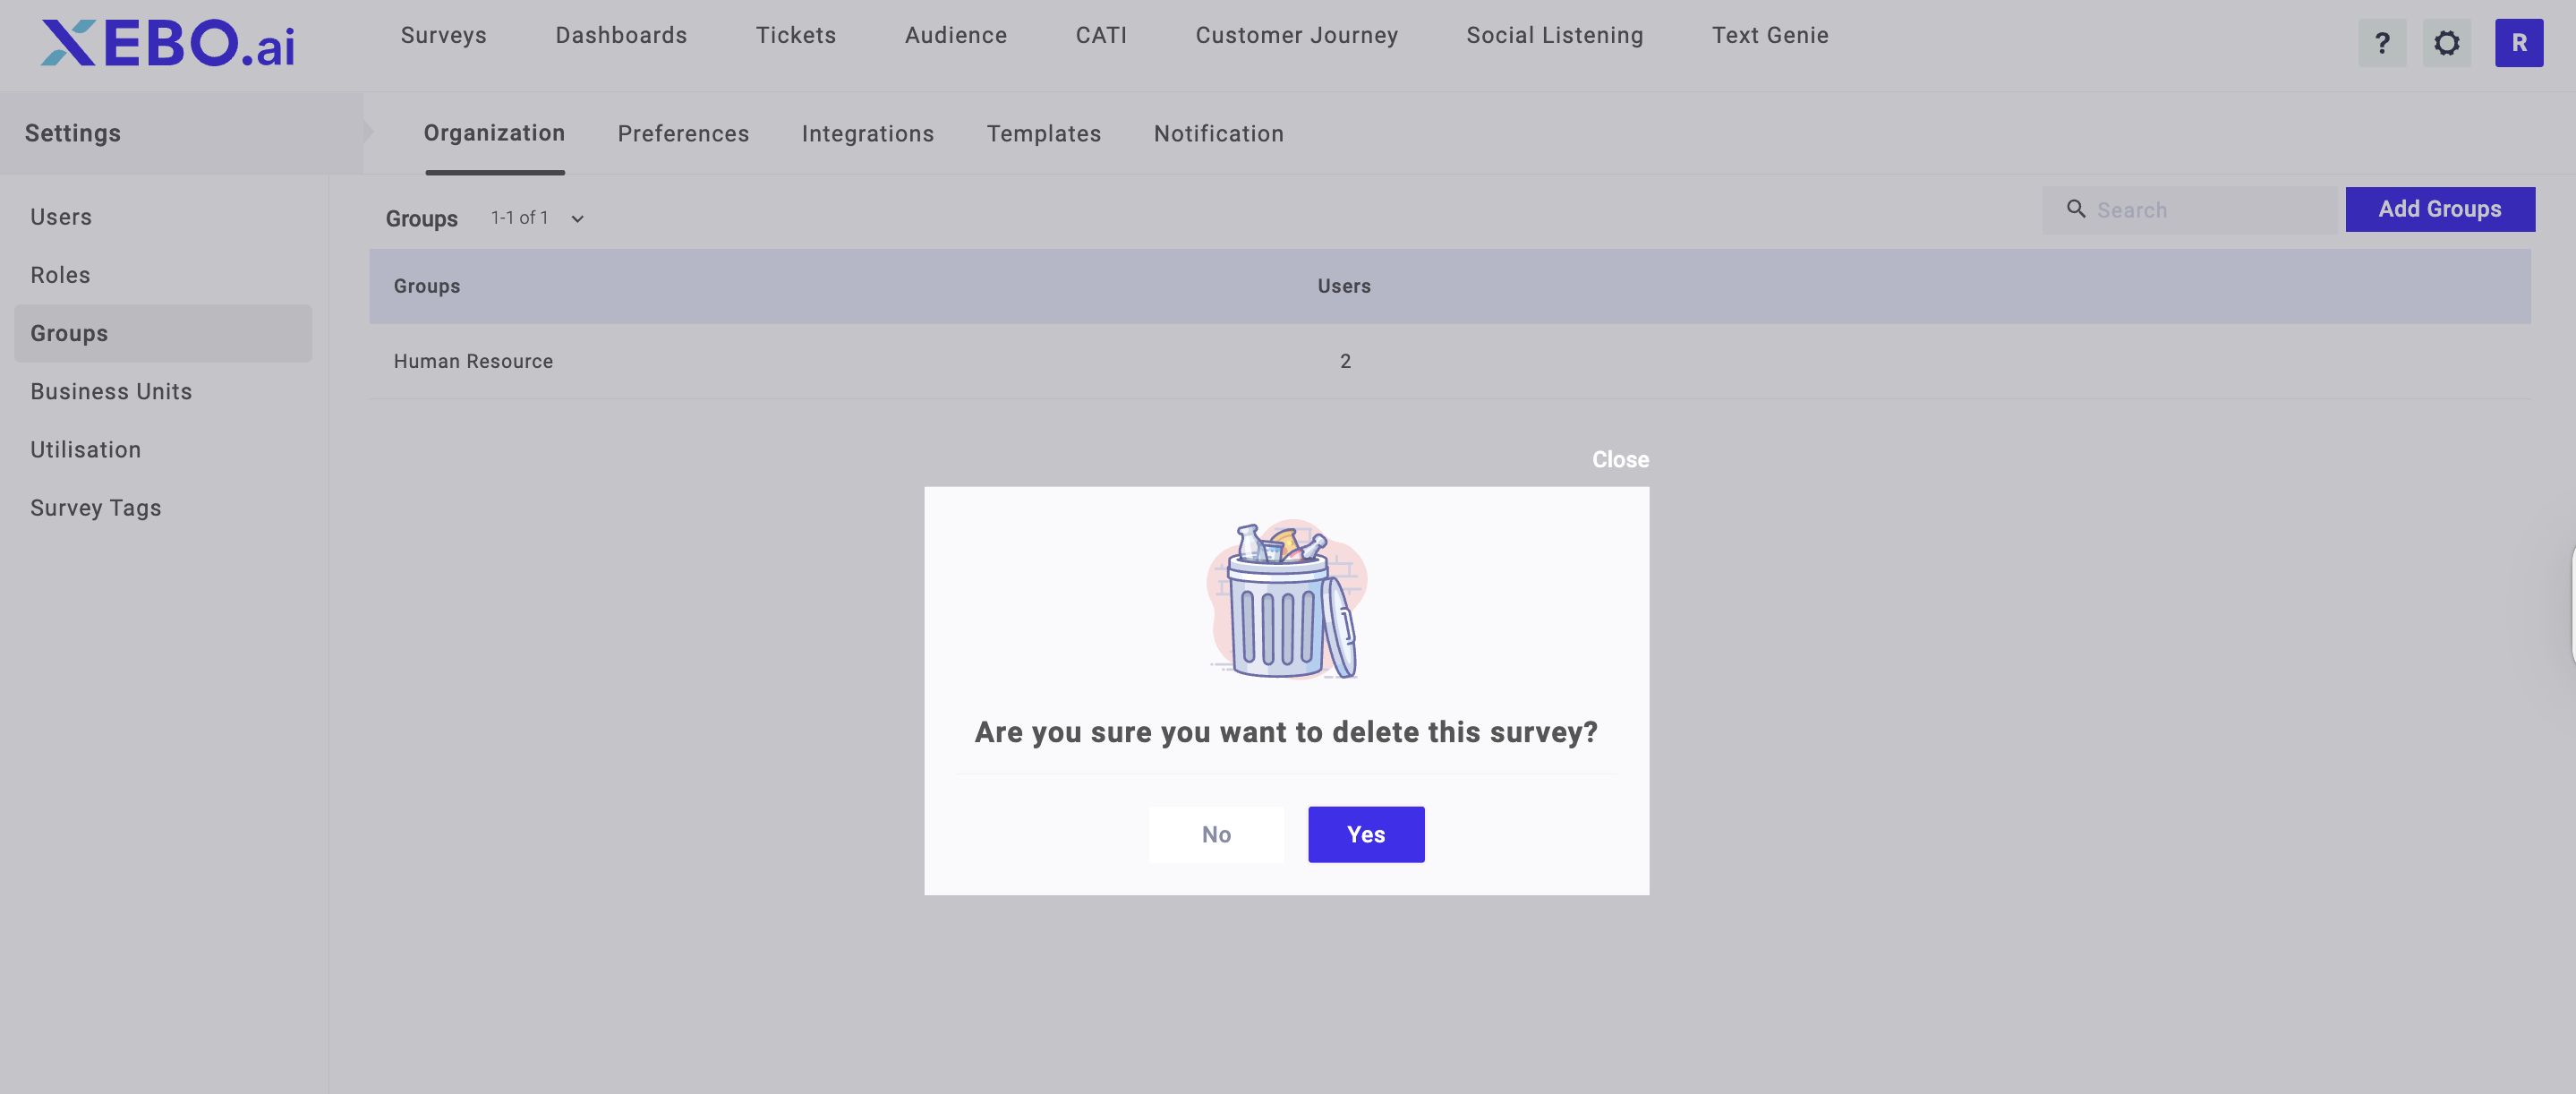
3. Click Yes on the popup
Removing Members From Group
You can remove members from your group by removing them manually from the group member list. The steps are as follows:
1. Go to the Groups page under the Admin section
2. Under the Users tab, click on delete sign
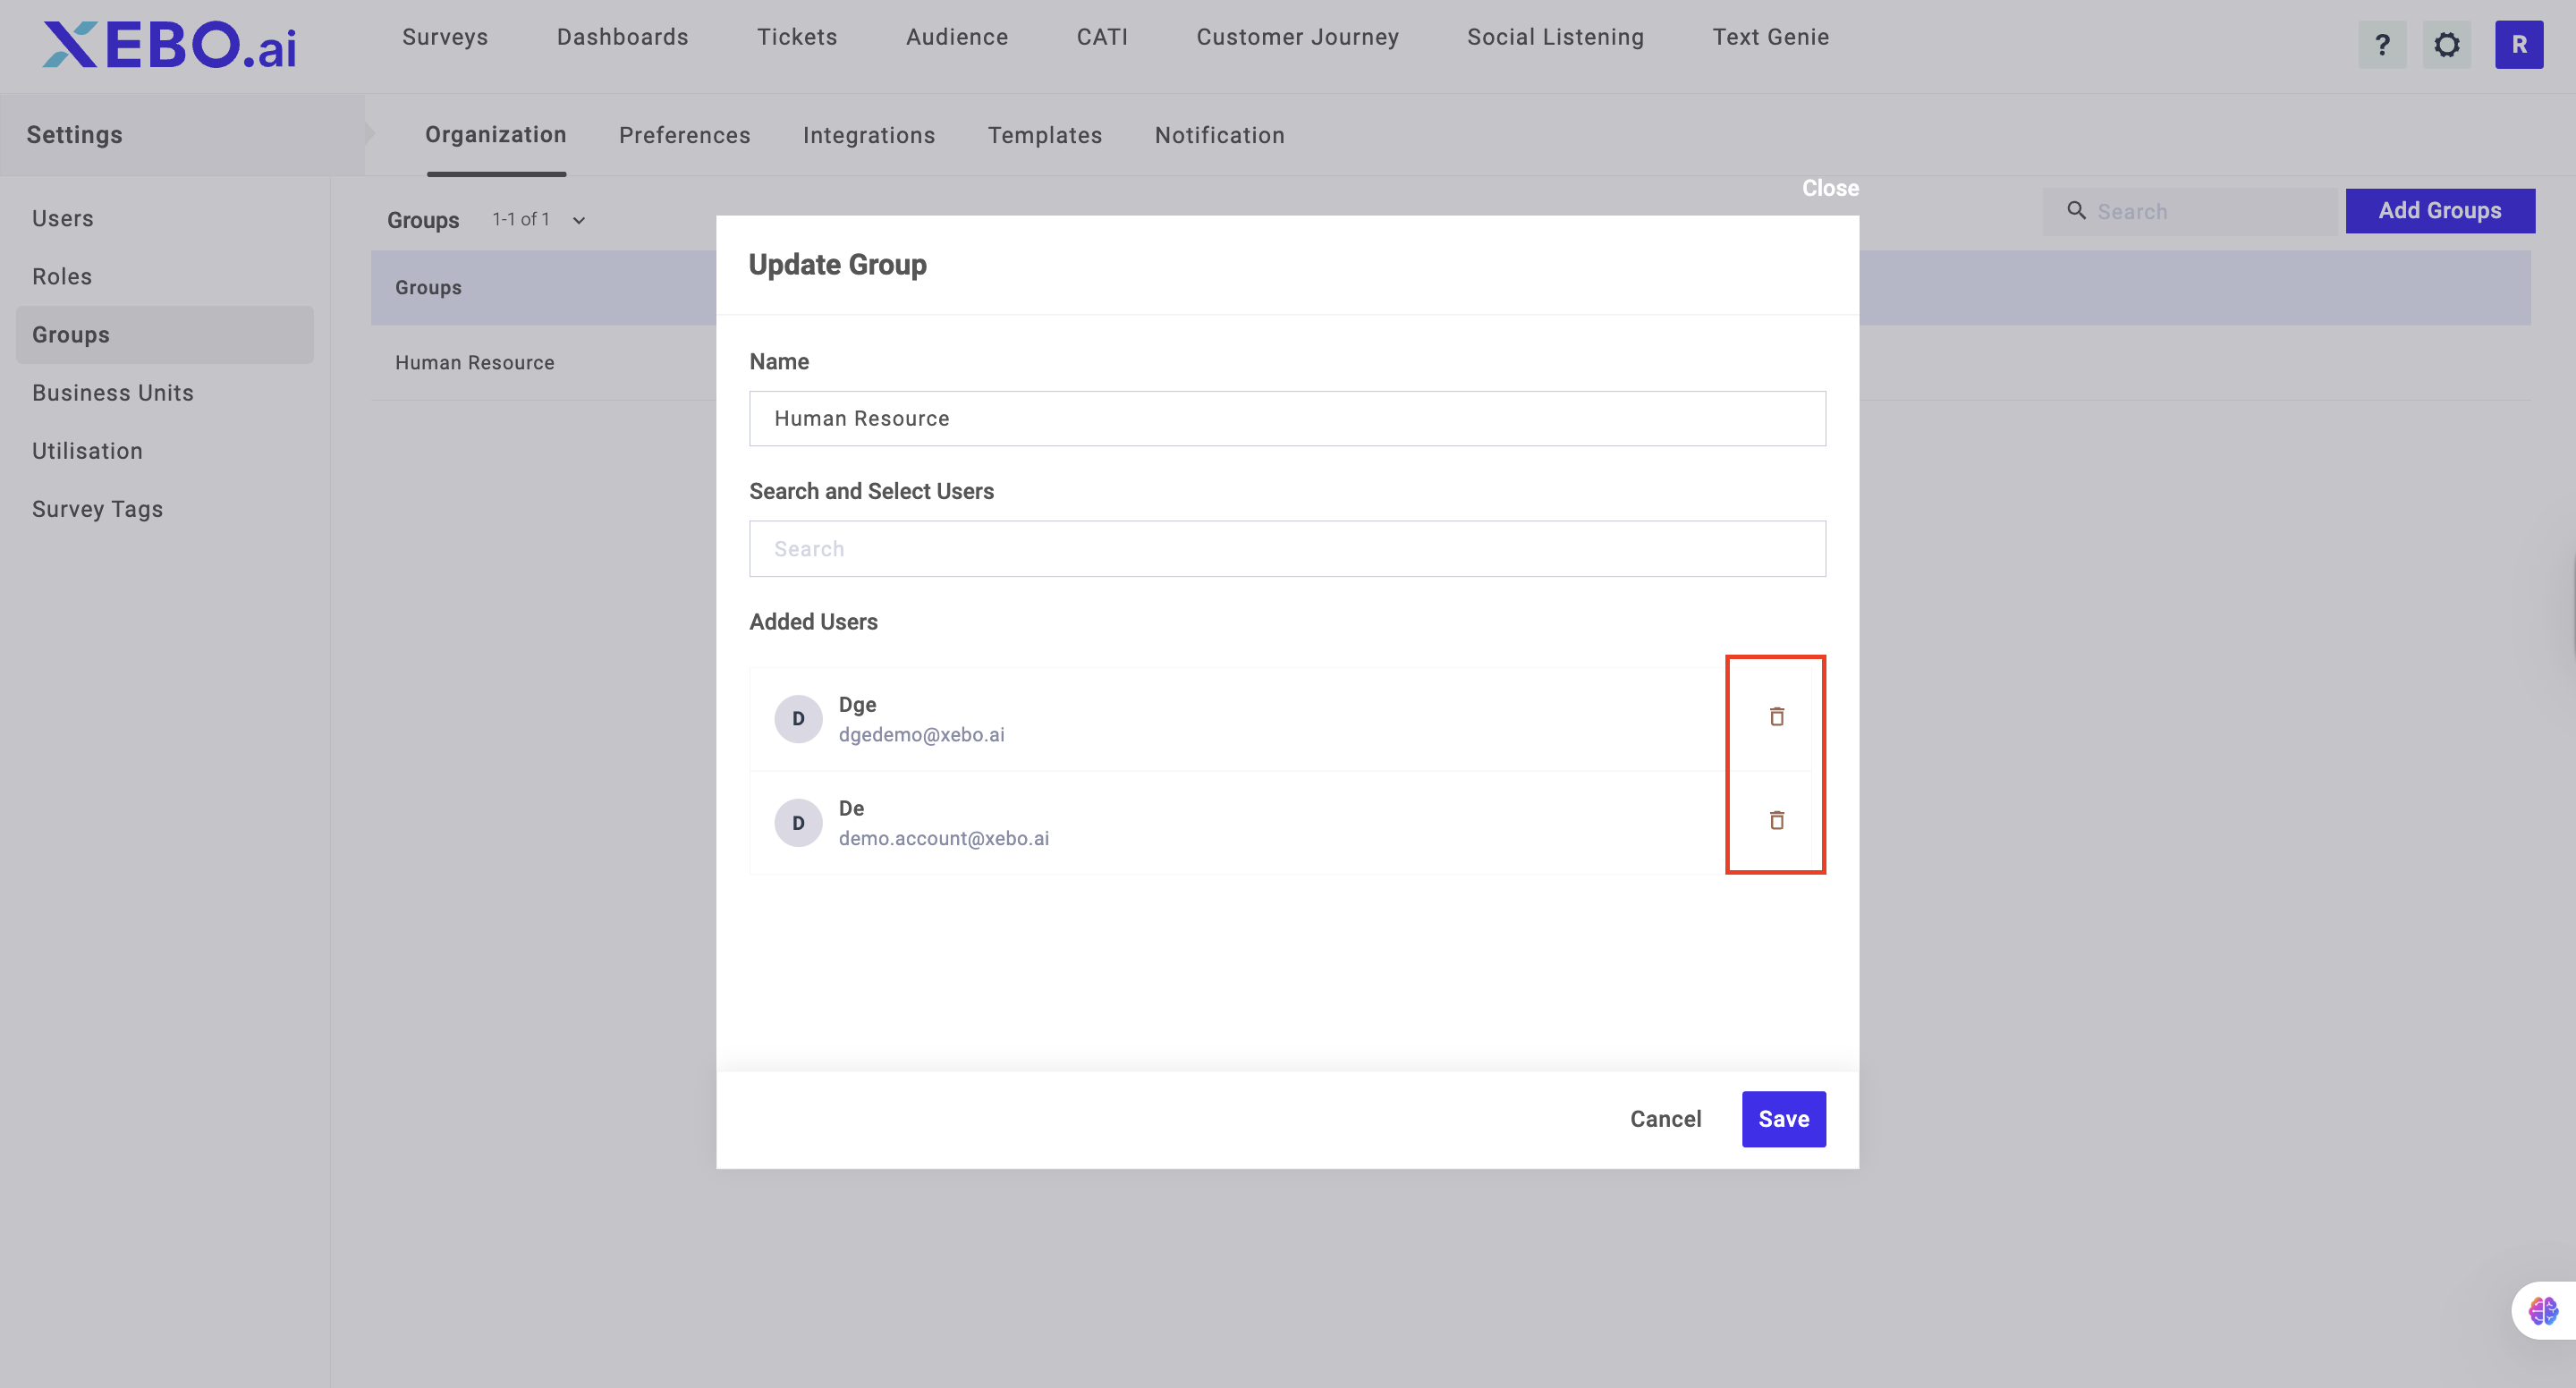
3. Click on Remove